Imagine buying coffee without handing over your credit card. You just hand the barista cash, get your drink, and keep your financial details private. That is essentially what using a Decentralized Exchange (DEX) feels like in the world of cryptocurrency.
Unlike traditional platforms where a company holds your money and executes trades, a DEX lets you swap tokens directly from your own digital wallet. There is no middleman. No customer support hotline. And crucially, no one else has access to your funds. This model, built on smart contracts, offers total control but comes with a steeper learning curve. If you are ready to take charge of your assets, here is exactly how to navigate this space safely and efficiently.
Why Choose a Decentralized Exchange?
The biggest draw of a decentralized exchange is security through self-custody. When you trade on centralized exchanges like Coinbase or Binance, you are trusting those companies not to hack, freeze, or lose your funds. With a DEX, your private keys stay with you. If your computer breaks, your money is still safe on the blockchain as long as you have your seed phrase.
Privacy is another major factor. Most DEXs do not require Know Your Customer (KYC) verification. You do not need to upload your passport or provide your address. You simply connect your wallet and trade. This anonymity appeals to many users who value data protection.
Additionally, DEXs offer access to a wider range of tokens. New projects often launch their tokens on DEXs before they are listed on major centralized platforms. This gives early adopters the chance to trade assets that are otherwise unavailable. However, this freedom comes with responsibility. There is no "forgot password" button, and if you send funds to the wrong address, they are gone forever.
Setting Up Your Web3 Wallet
Before you can use any DEX, you need a Web3 Wallet. This is not a place where money is stored; it is a tool that manages your keys and interacts with the blockchain. Think of it as a remote control for your crypto assets.
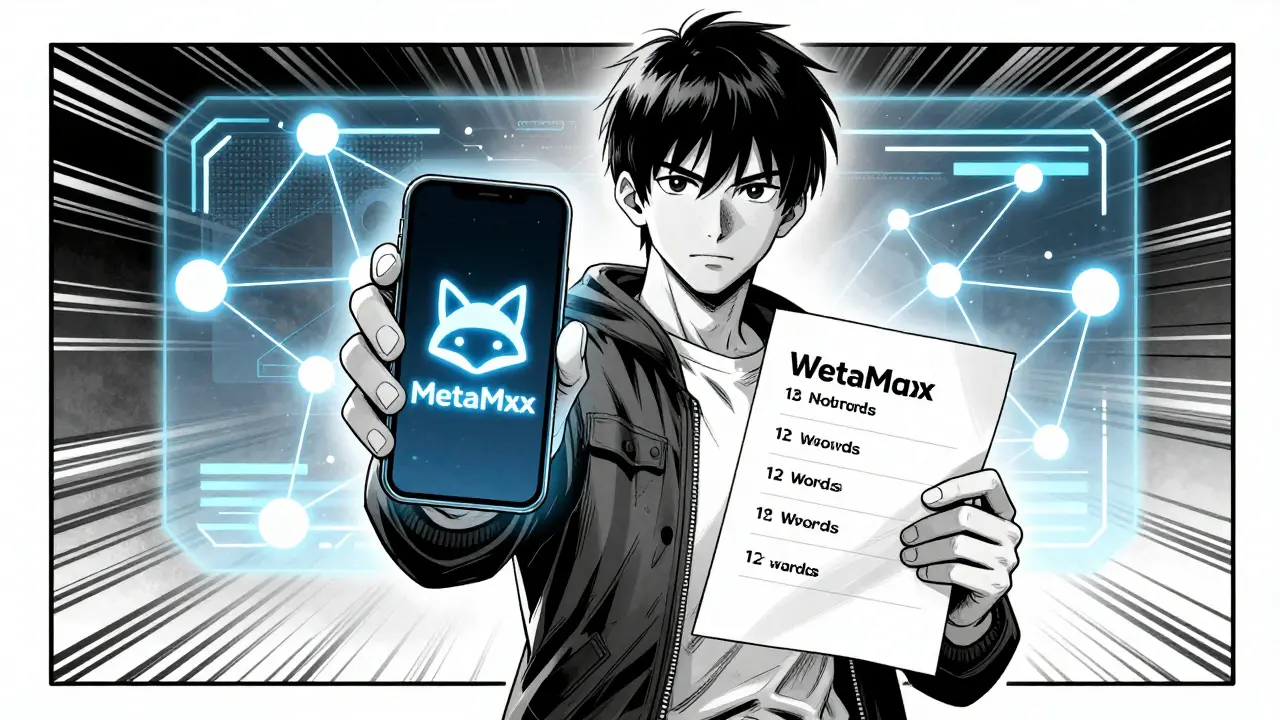
MetaMask is the most popular choice for beginners. It works as a browser extension for Chrome, Firefox, and Brave, and also as a mobile app. Here is how to set it up:
- Download the official MetaMask extension or app. Never download it from third-party sites.
- Create a new account. You will be given a 12-word Seed Phrase.
- Write down these words on paper. Do not screenshot them. Do not store them digitally. This phrase is the only way to recover your wallet if you lose access.
- Set a strong password for the app itself. This unlocks the interface, but the seed phrase unlocks the funds.
Once installed, you will see your wallet address-a long string of characters starting with '0x'. This is your public identity on the blockchain. You can share this freely to receive funds.
Funding Your Wallet with Gas Tokens
This is where many beginners stumble. To interact with a DEX, you need to pay transaction fees, known as Gas Fees. These fees compensate the network validators for processing your trade.
You cannot pay gas fees with the token you are trying to buy. You must hold the native currency of the blockchain you are using. For example:
- If you are trading on Ethereum, you need Ethereum (ETH).
- If you are on BNB Chain, you need BNB.
- If you are on Polygon, you need MATIC (or POL).
To fund your wallet, buy ETH on a centralized exchange like Coinbase or Kraken, then withdraw it to your MetaMask address. Keep some extra ETH in your wallet for future transactions. As of mid-2026, Ethereum mainnet gas fees can still spike during high traffic, so having a buffer is wise. Alternatively, consider using Layer 2 networks like Arbitrum or Optimism, where fees are significantly lower-often less than $0.10 per trade.
Connecting to a Decentralized Exchange
Now that you have a funded wallet, it is time to connect to a DEX. Uniswap is the largest and most trusted option, but others like PancakeSwap (on BNB Chain) and Curve (for stablecoins) are also popular.
Always bookmark the official website. Phishing sites look identical to real ones but steal your funds when you connect. Type the URL manually or use a verified link aggregator like DefiLlama.
On the homepage, click "Connect Wallet." MetaMask will pop up asking for permission. Click "Confirm." You will now see your balance and available tokens within the DEX interface. The connection is secure; the DEX cannot move your funds without your explicit approval for each transaction.
Executing Your First Swap
Swapping tokens is straightforward, but attention to detail is critical. Follow these steps carefully:
- Select the token pair. For example, choose ETH in the top box and USDC in the bottom box.
- Enter the amount you want to swap. The interface will show you the estimated output.
- Check the price impact. If it is above 1-2%, you might be getting a bad deal due to low liquidity.
- Adjust slippage tolerance. Default is usually 0.5%. For volatile tokens, increase this to 1-3% to prevent the transaction from failing if the price moves slightly during execution.
- Click "Swap." MetaMask will open again.
If this is your first time swapping a specific token (like USDC), you may need to click "Approve" first. This is a separate transaction that grants the DEX permission to spend that specific token. It costs gas but is a one-time step per token. After approval, return to the DEX and click "Swap" again to execute the trade.

Understanding Slippage and Liquidity Pools
DEXs do not use order books like stock markets. Instead, they use Automated Market Makers (AMMs). Prices are determined by mathematical formulas based on the ratio of tokens in a Liquidity Pool.
Liquidity pools are reserves of two tokens locked in a smart contract. Anyone can deposit funds into these pools to earn trading fees. When you trade, you are swapping against this pool. If the pool has little depth (low liquidity), your large trade can significantly change the price, resulting in high slippage. This means you receive fewer tokens than expected.
Slippage tolerance is your safety net. It tells the DEX the maximum percentage difference you accept between the quoted price and the executed price. If the price moves beyond this limit, the transaction fails, protecting you from a bad trade. Always review this setting, especially for new or low-volume tokens.
Safety Tips and Common Pitfalls
Security in DeFi is personal responsibility. Here are essential practices to protect your assets:
- Verify URLs always. Bookmark official sites. Never click links from social media or emails claiming to be DEXs.
- Use a hardware wallet for large amounts. Devices like Ledger or Trezor add an extra layer of security by keeping private keys offline.
- Revoke permissions periodically. Use tools like Revoke.cash to check which contracts have access to your tokens. If you stop using a DEX, revoke its approval to prevent potential exploits.
- Beware of fake tokens. Scammers create tokens with names similar to popular ones. Always double-check the contract address on Etherscan or BscScan before swapping.
- Start small. Test the process with a small amount of money to understand the flow and fees before committing significant capital.
Remember, there is no customer support. If you make a mistake, such as sending ERC-20 tokens to a BEP-20 address, recovery is nearly impossible. Take your time, verify every detail, and prioritize caution over speed.
What is the best decentralized exchange for beginners?
Uniswap is widely considered the best starting point due to its large user base, extensive documentation, and high liquidity across many token pairs. It operates primarily on Ethereum and Layer 2 networks, offering a reliable and secure environment for new users.
Do I need KYC to use a DEX?
No, most decentralized exchanges do not require Know Your Customer (KYC) verification. You only need a Web3 wallet and the native cryptocurrency for gas fees. This allows for anonymous trading, unlike centralized exchanges that mandate identity checks.
Why did my transaction fail?
Common reasons include insufficient gas fees, slippage tolerance exceeded, or incorrect network selection. Ensure you have enough ETH (or native token) for fees and that your slippage settings match the current market volatility. Also, verify you are on the correct blockchain network in your wallet.
Are DEXs safer than centralized exchanges?
DEXs eliminate counterparty risk since you never deposit funds into a central entity. However, they introduce smart contract risks. If the underlying code has vulnerabilities, funds could be exploited. Self-custody requires strict personal security hygiene, whereas CEXs handle security infrastructure but pose theft risks if hacked.
How much does it cost to swap on a DEX?
Costs vary by network. On Ethereum mainnet, gas fees can range from $5 to $50+ depending on congestion. On Layer 2 networks like Arbitrum or Optimism, fees are typically under $0.10. Additionally, most DEXs charge a trading fee, usually 0.3% for standard pools, which goes to liquidity providers.